At some point the customer started to migrate workloads with HCX to VMC on AWS. Yeah..and was happy because it worked easy and seamless. After a couple of migrations they wanted to pick up the speed and move more workloads from their two datacenters. Each datacenter had its own internet breakout which could be leveraged to move the data over to the SDDC in the cloud.
In this post we will not talk about the setup of VMware Cloud on AWS SDDC, VPCs, transit VPCs and setting up HCX, we will focus on the setup of HCX with two source datacenters.
During the setup of HCX within the second on-premises datacenter, which requires downloading the HCX OVF from the HCX cloudmanager and afterwards deploying it with the correct parameters (IP settings, passwords, …) in the on premises datacenter a question arises:
"How to create the additional site pairing"..
The first mesh can be easily created because the public IPs are already there. Which is not the case for additional site pairings & meshes.
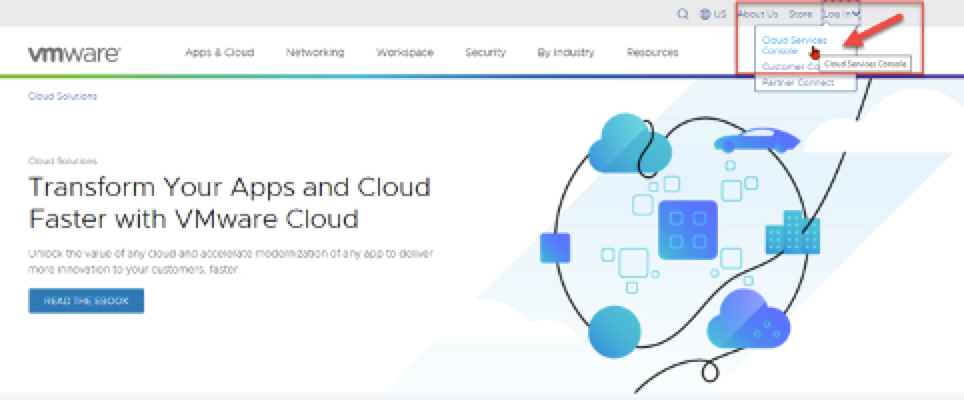
Start with opening the Cloud Services Console https://www.vmware.com/cloud-solutions.html
Within the VMC on AWS cloud console …
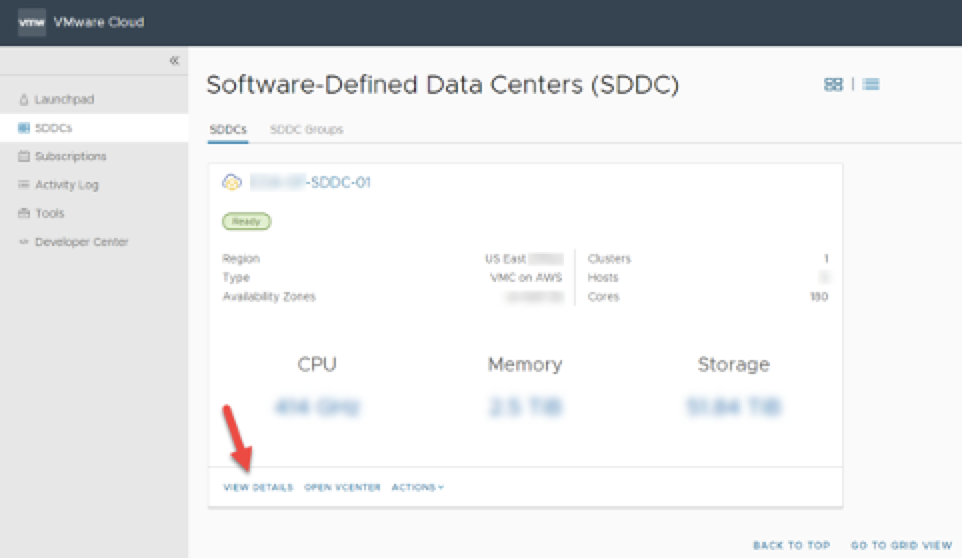
go to your SDDC and view Details…
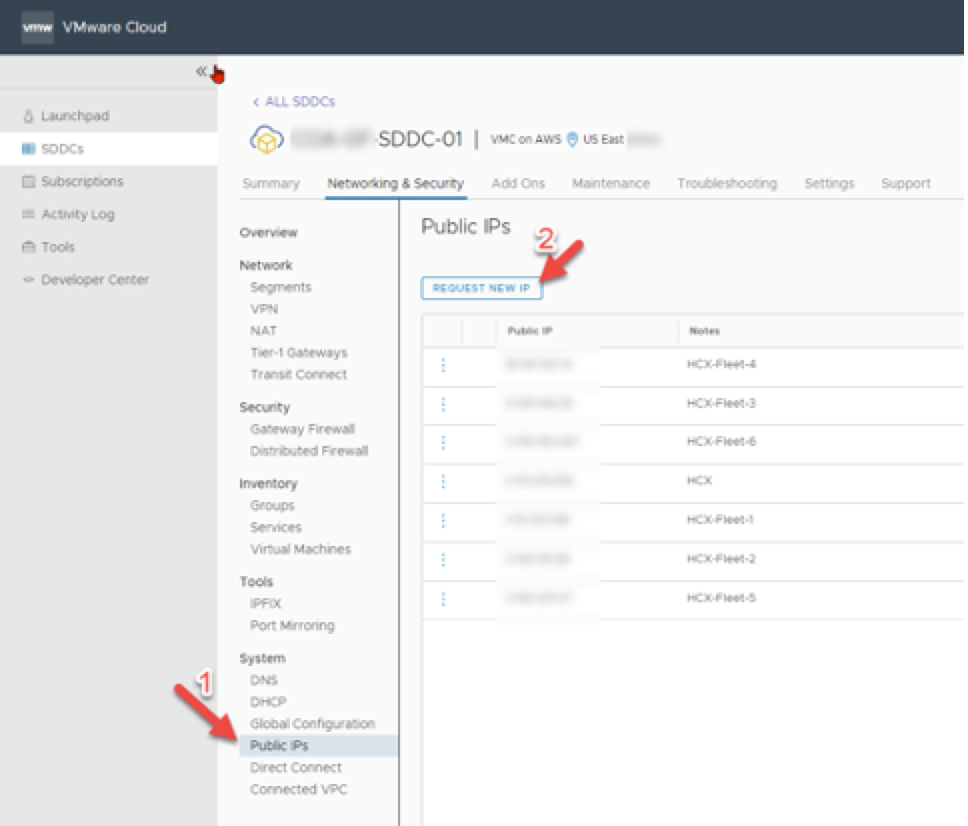
Networking and Security -> Public IPs -> Request New IP
Add the number of public IPs required. (The number depends on the services you are going to use and also on the appliance scale)…
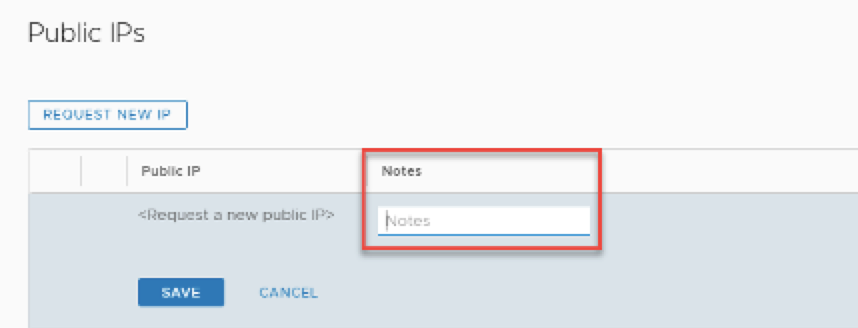
enter a Note/Descripotion…
After you have created the number of IPs you require for your setup, switch back to your SDDC and goto Add ONs and click on Open HCX…
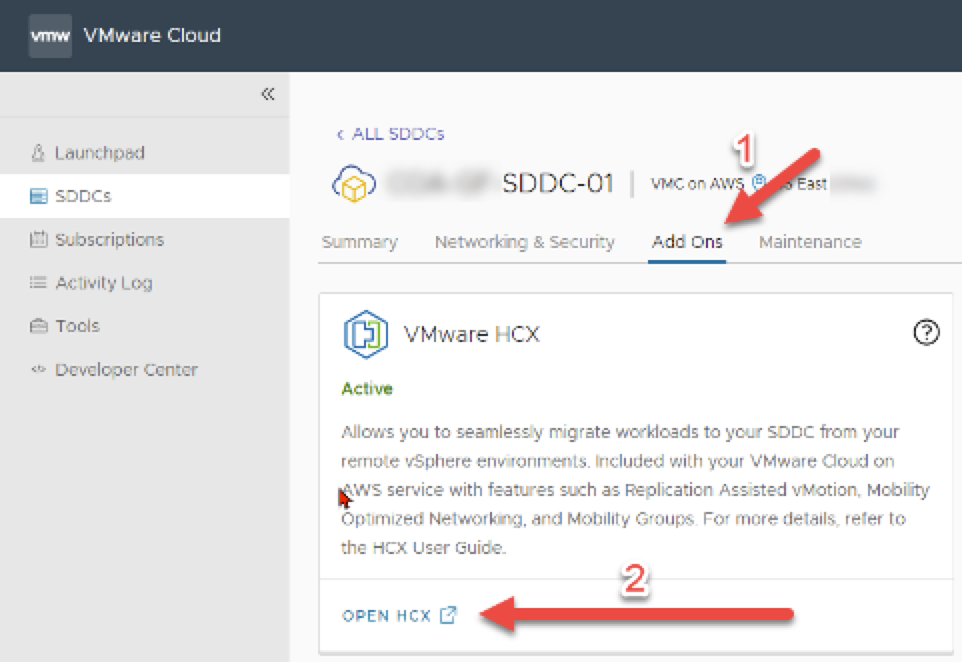
and click on Open HCX again…
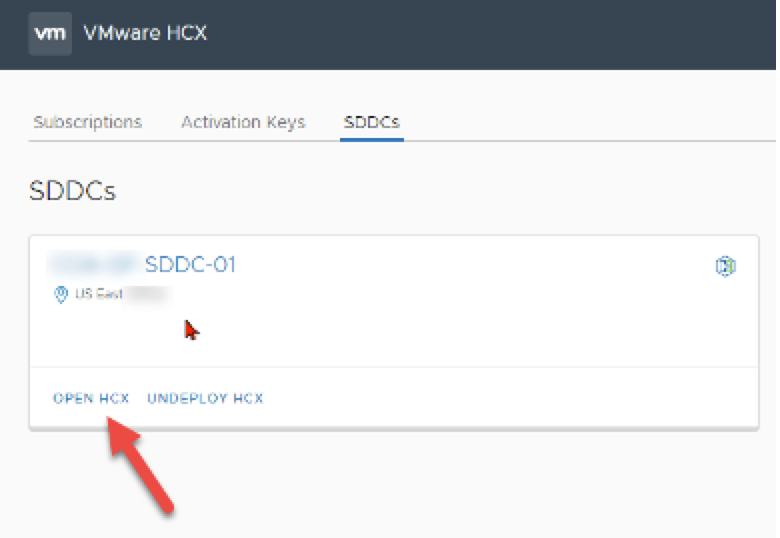
and logon with you username and password…

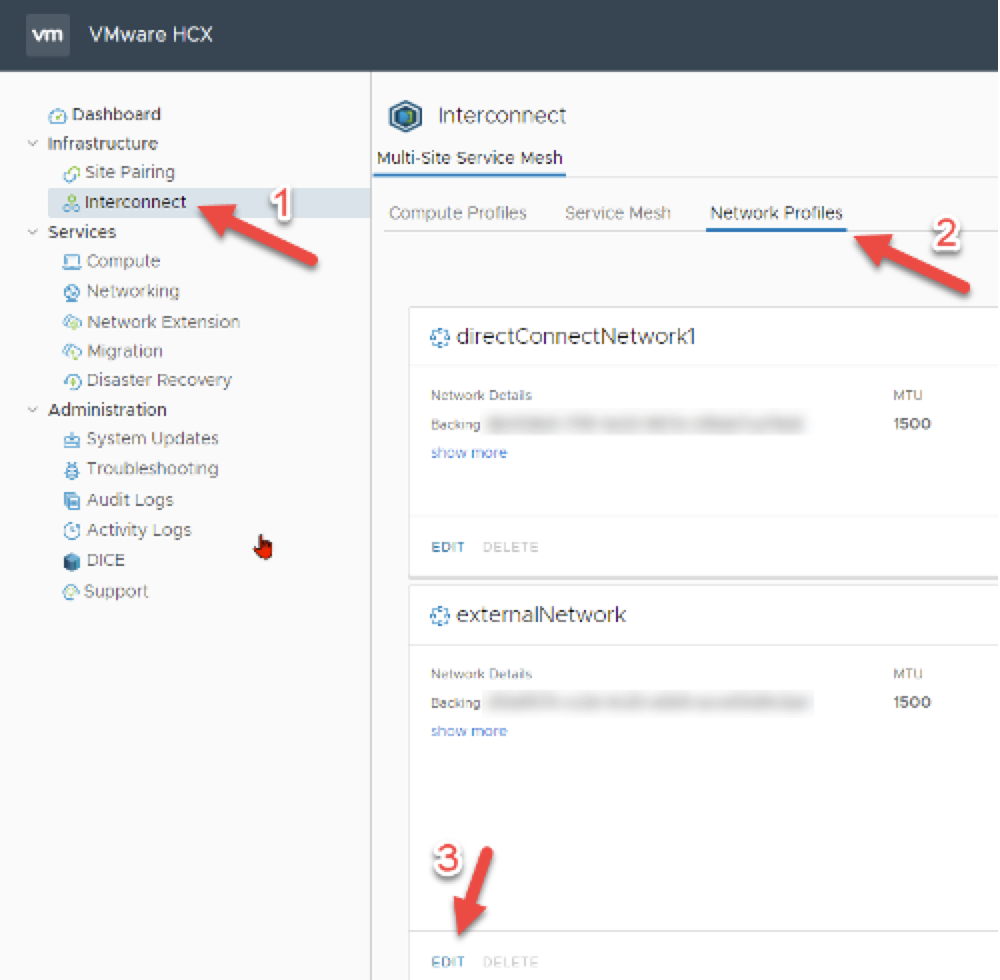
Within the left menu go to Interconnect -> open the TAB: Network Profiles and then click EDIT in the externalNetwork section…
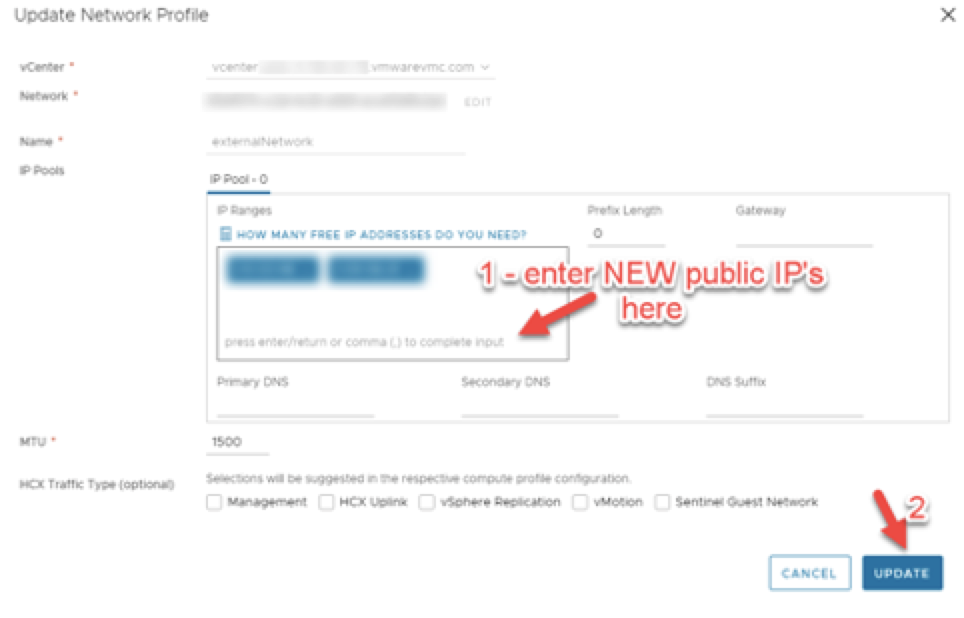
now add the newly acquired IPs from the Network and Security/Public IPs interface and click UPDATE…
Newly added IP’s show two times as : 0 used and 1 available…

When you the go to your Service Mesh configuration you should see the number of IPs you have added now available. In my case there is only one available as I consumed 1 IP before the screenshot was taken.

And from there you can edit your config and go through and finish your config.
I hope that helps you to configure your Service Mesh and you can move your VMs just fine.